NDI Open EdX Documentation

NDI Open EdX Documentation

  • Docs

›Creating a Course

Creating a Course

  • Create a New Online Course
  • Set Course Schedule & Details
  • Add Sections, Subsections & Units
  • Managing Unit and Component
  • Adding Videos
  • Adding HTML
  • Adding Discussions
  • Adding Problems

    • Adding Problems
    • Problem Types
    • Drag and Drop
    • Pointing on a picture
    • Adding Staff-Graded Assignment
    • Adding LTI Tools
  • Adding Images and Figures
  • Uploading Static Content
  • Course Visibility
  • Creating pages
  • Grading
  • Commonly Used Advanced Settings

Running a Course

  • Managing Certificates
  • Common Instructor Dashboard Tasks
  • Managing Course Discussions

Advanced Management

  • Importing / Exporting Courses
  • Inactivate / Activate a User
  • Understanding User Roles
  • Set a user to staff or superuser
  • Server Tasks

    • SSH into Server
    • Delete a Course

Instructional Design Tools & Strategies

  • Video: Basic Production
  • Video: Scripting
  • Video Strategy: Introduction & Summary Videos
  • Video Strategy: Interview
  • Video Strategy: Interactive Video
  • Feedback: Feedback Basics
  • Engagement: Discussion Call to Action
  • Engagement: Wordcloud
  • Engagement: Course Explorer
  • Engagement: Journal
  • Engagement: Annotation
  • Engagement: Interactive Map

Create a New Online Course

This document will teach you how to start a new online course. At the end of this tutorial, you will have an empty course which you can start populating with content.
  1. Log into Studio. Depending on your configuration, you may access the studio by appending :18010 to the end of your LMS url. So edx.curricu.me becomes edx.curricu.me:18010. Or you may have a custom studio url (e.g. studio.curricu.me). My Courses

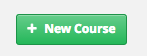
  2. Click on ‘+ New Course’ in the top right New Course

  3. Fill in the details for your new course

    1. Course Name – The full name shown on your course dashboard, reports, course lists, etc.

      1. E.G. How to Build a Custom MOOC
    2. Organization – The short code for your organization. In a single-tenant installation, this field has little purpose. It is best to pick a consistent name and use it for all courses. E.G. E-LearnOrg. In a multi-tenant installation this field determines which site the course will appear on.

      For NDI:

      NDI = ed.ndi.org

      RED = redinnovacion.ndi.org

      TPIE = tpie.demcloud.org

      HDP = parliamentaryoversight.ndi.org

    3. Course Number – A unique identifier for your course. E.g. MOOC101

    4. Course Run – The time in which your course is offered.

      1. E.g. A course you build and run once in 2014 might use ‘2014’
      2. E.g. a course you run each quarter might use ‘2014_H1’ and then ‘2014_H2’ for two separate instances.
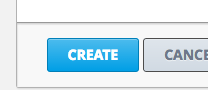
  4. Click Create to save your course details. Save Course

After clicking Create, the course will be created and you will be landed on ‘Course Outline’ webpage of that particular course. Course Online

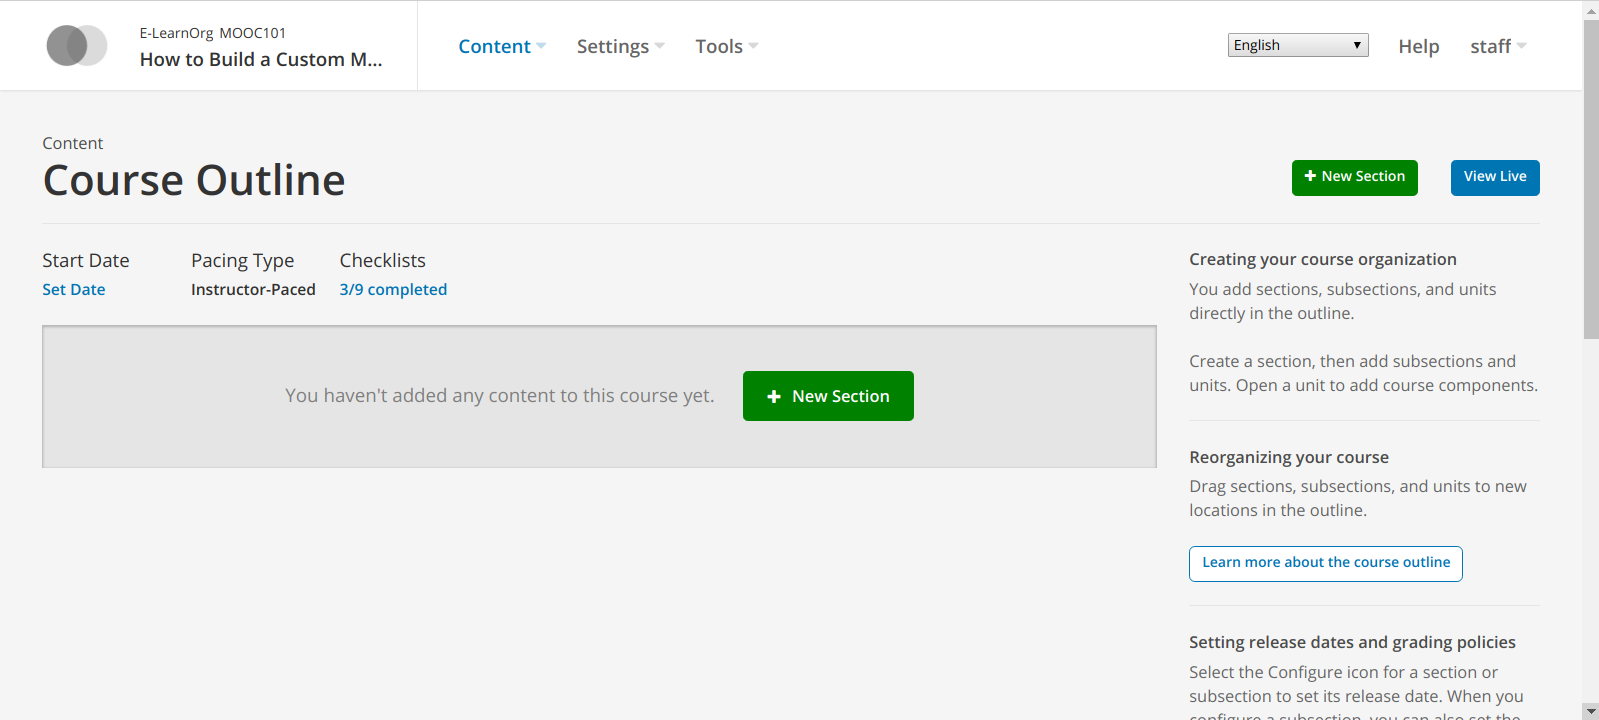
This means that your course has been successfully created and you are ready to insert content in it. The content of the course is also termed as ‘Courseware’.

Set Course Schedule & Details →
NDI Open EdX Documentation
Docs
Create an Online Course
More
Curricu.me Website
Copyright © 2024 All Rights Reserved - National Democratic Institute